With Christmas creeping closer, my crafty side is starting to show, and I’ve turned to Pinterest for inspiration. DIY projects make the promise that you can create anything from gourmet meatballs to mosaic birdbaths all on your own, but these fancy projects are hardly ever friendly for a tight budget. For a single Pinterest project, I can easily drop $40 at Michael’s on supplies. For this Christmas craft, brought to you by yours truly, I searched for a craft that would cost the least amount of money possible, made from materials accessible to the typical college student. In other words, I did what college students do best: scrapping in order to survive. To make the newspaper Christmas tree, you will need…
•1 large piece of cardboard (like an Amazon box or an old trifold)
•Any type of paper (newspaper, sheet music, wrapping paper, pages from your chemistry textbook)
•Tape (transparent is ideal, but duct tape works)
•A sticky substance (glue, tape, gum)
•Scissors
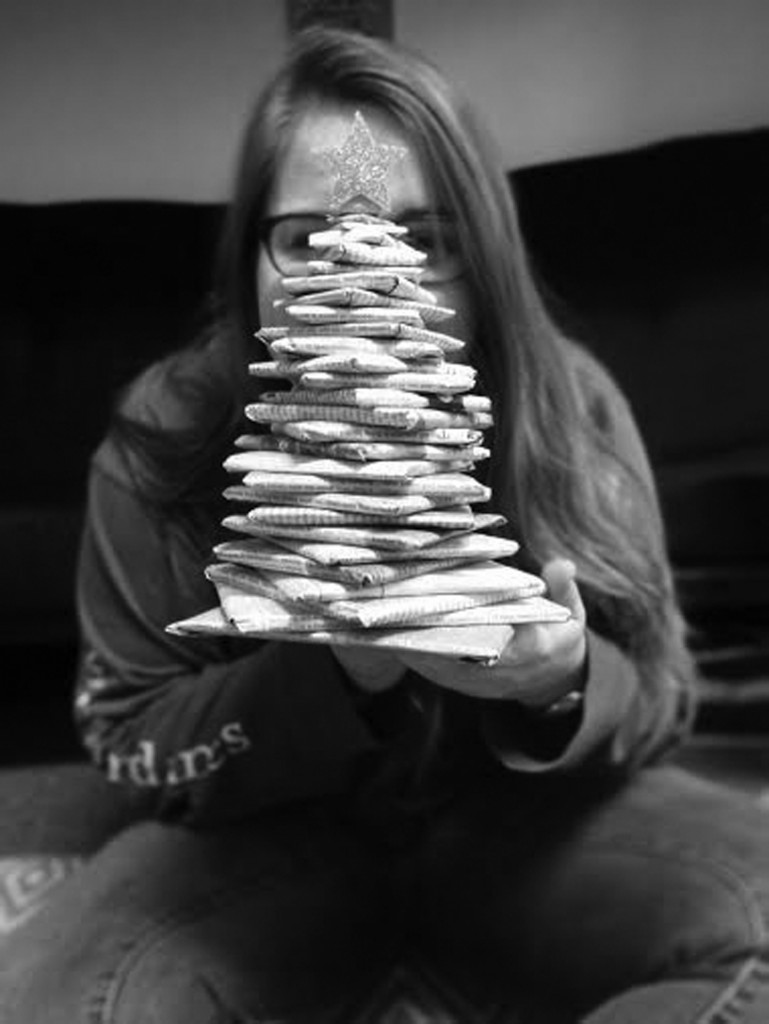
First, you will need to obtain a piece of large cardboard. Mine was found in the recycling closet on the third floor of Sparrowk (I like to think of this as the more hygienic version of dumpster diving). You will need to cut the cardboard into about 25 individual squares, each one increasingly smaller than the one before. My largest square was about 5” x 5” while the smallest was just under 1” x 1”. By no means do these squares need to be measured or cut exactly. After all the squares have been cut, they will need to be wrapped in paper of your choice. I chose everyone’s favorite newspaper (The Waltonian), and wrapped each square exactly as I would wrap a Christmas present, with tape and all. (Side note: Wrapping so many squares is good practice for Christmas morning, when you’ll be wrapping all the gifts you neglected to package earlier.)
After each square has been wrapped, stack the squares on top of one another from largest to smallest. The biggest square will serve as the base of the tree. Apply the sticky substance to the base and stick the next square on top. Rather than stacking the squares neatly into little pyramid, try turning them in different positions for a staggered effect. Continue stacking the squares in descending order with adhesive in between. If you have done so successively, your product will look like a Christmas tree! Hooray! For the finale, I topped my tree a gold star from a bag of old Sunday School supplies that my mom donated to me. With this finishing touch, there’s no confusing my tree with a newspaper mountain.
That’s all there is to it, folks! Merry Christmas and happy crafting!